
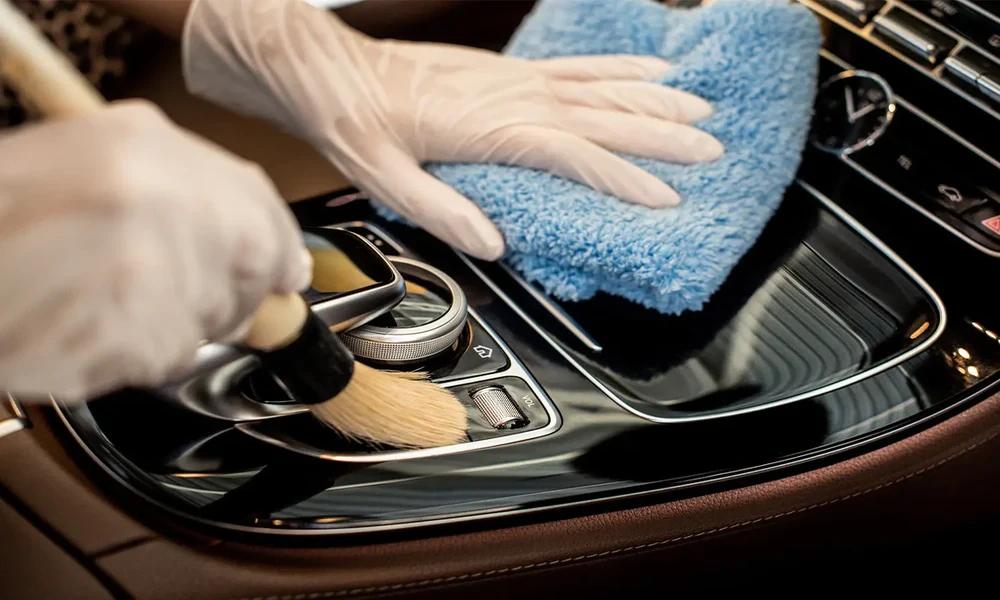
Keeping your vehicle clean goes beyond making it look good. Regular detailing helps protect your investment, improves driving comfort, and preserves your car’s value for years to come. Whether you’re a car enthusiast or simply want your vehicle to stay in excellent condition, following a car detailing checklist ensures that no important step is overlooked.
Unlike a quick drive-through wash, car detailing focuses on cleaning, restoring, and protecting every part of the vehicle, from the paint and wheels to the dashboard and upholstery. A thorough detailing session removes contaminants, restores shine, and helps prevent long-term damage caused by dirt, UV rays, moisture, and road grime.
This guide covers the ultimate car detailing checklist that professional detailers follow to achieve showroom-quality results.
Why a Car Detailing Checklist Matters
A systematic approach ensures consistency and quality. Instead of cleaning random areas, a checklist guarantees every surface receives proper attention.
Benefits include:
- Prevents premature wear and tear
- Protects paint from oxidation
- Removes contaminants safely
- Improves interior hygiene
- Enhances resale value
- Makes future cleaning easier
- Extends the lifespan of vehicle materials
Whether you perform detailing yourself or hire professional auto detailing services, using a checklist produces better results every time.
Exterior Car Detailing Checklist
Exterior detailing restores the beauty of your vehicle while protecting it from environmental damage.
1. Inspect the Vehicle
Before washing, walk around the vehicle and inspect for:
- Paint scratches
- Swirl marks
- Tree sap
- Bird droppings
- Road tar
- Water spots
- Oxidation
- Rock chips
This inspection helps identify areas requiring extra attention.
2. Clean the Wheels and Tires First
Wheels usually contain the heaviest dirt and brake dust.
The process includes:
- Spray wheel cleaner
- Agitate with wheel brushes
- Clean wheel barrels
- Scrub lug nuts
- Wash tire sidewalls
- Rinse thoroughly
Cleaning wheels first prevents splashing brake dust onto freshly washed paint.
3. Pre-Rinse the Vehicle
Use clean water to remove:
- Loose dirt
- Sand
- Mud
- Road salt
This minimizes the risk of scratching during washing.
4. Foam the Vehicle
Applying a foam pre-wash helps loosen stubborn grime before touching the paint.
Allow the foam to dwell for several minutes before rinsing.
5. Hand Wash Using the Two-Bucket Method
Professional car detailers recommend using:
- One bucket for clean shampoo
- One bucket for rinsing the wash mitt
This dramatically reduces swirl marks.
Always wash:
- Roof
- Windows
- Hood
- Trunk
- Upper doors
- Lower panels last
6. Clean Door Jambs
Door jambs collect grease, dust, and moisture.
Wipe them using:
- All-purpose cleaner
- Soft microfiber towels
Clean jambs improve the overall appearance of the vehicle.
7. Decontaminate the Paint
Even after washing, paint often contains embedded contaminants.
Use:
- Clay bar
- Clay mitt
- Iron remover
This leaves the surface smooth and ready for polishing or protection.
8. Dry Properly
Avoid air drying.
Instead use:
- Plush microfiber drying towels
- Filtered air blower
Proper drying prevents water spots.
9. Polish the Paint
Polishing removes:
- Light scratches
- Oxidation
- Swirl marks
- Dullness
- One-step polish
- Multi-stage paint correction
This step restores gloss dramatically.
10. Protect the Paint
Protection is one of the most important parts of the car detailing checklist.
Options include:
- Carnauba wax
- Paint sealant
- Ceramic coating
These protect against:
- UV rays
- Rain
- Dirt
- Road grime
Protection also makes washing much easier.
11. Clean Exterior Glass
Use streak-free automotive glass cleaner on:
- Windshield
- Side windows
- Rear glass
- Mirrors
Clear glass improves visibility and driving safety.
12. Restore Exterior Trim
Plastic trim fades over time.
Apply trim restorer to:
- Bumpers
- Mirror housings
- Window moldings
- Cowl panels
This brings back a rich black finish.
13. Dress Tires
Finish the exterior with tire dressing.
Benefits include:
- Rich black appearance
- UV protection
- Longer-lasting rubber
Interior Car Detailing Checklist
Interior detailing is equally important for comfort and cleanliness.
1. Remove Personal Items
Take out:
- Floor mats
- Trash
- Loose belongings
- Seat covers if removable
This provides better access for cleaning.
2. Vacuum Thoroughly
Vacuum every area including:
- Seats
- Carpets
- Floor mats
- Under seats
- Trunk
- Seat rails
- Storage compartments
Use detailing attachments for tight spaces.
3. Clean Floor Mats
Rubber mats:
- Wash with soap
- Scrub thoroughly
- Dry completely
Carpet mats:
- Shampoo
- Extract stains
- Air dry
4. Shampoo Upholstery
Fabric seats often trap:
- Dust
- Food particles
- Pet hair
- Odors
Use fabric shampoo and extraction equipment when necessary.
5. Clean Leather Seats
Leather requires specialized cleaners.
After cleaning:
- Apply leather conditioner
- Restore softness
- Prevent cracking
6. Wipe Dashboard and Console
Clean:
- Dashboard
- Center console
- Cup holders
- Air vents
- Buttons
- Screens
Use soft microfiber towels to avoid scratches.
7. Clean Interior Panels
Don’t forget:
- Door panels
- Armrests
- Kick panels
- Seat backs
These high-touch areas collect fingerprints and dirt.
8. Clean Interior Glass
Interior windows often develop haze.
Use lint-free microfiber towels for a crystal-clear finish.
9. Eliminate Odors
Professional vehicle detailing often includes odor removal through:
- Steam cleaning
- Fabric extraction
- Cabin air filter replacement
- Odor neutralizers
Avoid simply masking odors with air fresheners.
10. Protect Interior Surfaces
Apply UV protectant to:
- Vinyl
- Plastic
- Rubber
This reduces fading and cracking caused by sunlight.
Engine Bay Detailing Checklist
Although frequently overlooked, engine bay cleaning contributes to vehicle maintenance.
The process includes:
- Cover sensitive electronics
- Remove loose debris
- Degrease surfaces
- Rinse carefully
- Dry completely
- Apply plastic dressing
A clean engine bay also makes leak detection easier.
Final Quality Inspection
The last step of any professional car detailing checklist is inspecting the vehicle from every angle.
Check for:
- Missed dirt
- Water spots
- Smudges
- Streaks
- Remaining debris
- Uneven tire dressing
Open every door and inspect both the interior and exterior before considering the job complete.
How Often Should You Detail Your Vehicle?
Frequency depends on driving habits and environmental conditions.
General recommendations include:
- Weekly hand washing
- Interior vacuum every two weeks
- Full detailing every 4-6 months
- Paint decontamination twice per year
- Ceramic coating maintenance annually
Vehicles exposed to harsh weather, coastal environments, or frequent highway driving may require more frequent detailing.
Common Car Detailing Mistakes to Avoid
Even experienced car owners can make mistakes that reduce detailing results.
Avoid:
- Washing in direct sunlight
- Using household detergents
- Reusing dirty wash mitts
- Skipping paint protection
- Using one towel for everything
- Neglecting wheels and tires
- Forgetting interior UV protection
- Rushing the drying process
Following a structured car detailing checklist helps eliminate these common errors while producing consistent, professional-quality results.
When Should You Hire a Professional?
While DIY detailing can be rewarding, professional detailers have access to specialized tools, equipment, and products that deliver exceptional results.
Consider professional detailing if your vehicle has:
- Heavy oxidation
- Deep stains
- Swirl marks
- Paint contamination
- Pet hair buildup
- Ceramic coating needs
- Paint correction requirements
Professional interior car detailing and exterior car detailing services can restore your vehicle to a like-new condition while saving you significant time and effort.
Final Thoughts
A well-maintained vehicle doesn’t happen by accident-it comes from following a consistent process. Using a comprehensive car detailing checklist ensures every surface is cleaned, restored, and protected with care. From washing the wheels and decontaminating the paint to conditioning leather seats and applying long-lasting paint protection, each step contributes to a cleaner, healthier, and better-looking vehicle.
Whether you enjoy detailing your own car or trust experienced professionals, following this car detailing checklist helps preserve your vehicle’s appearance, improve its longevity, and maintain its value. By making mobile car detailing a regular part of your maintenance routine, you’ll enjoy a cleaner ride, better protection from the elements, and the satisfaction of driving a vehicle that looks its absolute best every day.
